3D printing has become more accessible than ever, letting people create custom objects, prototypes, and replacement parts right at home. Budget 3D printers now offer features that were once only available on expensive professional models. These affordable machines open up new possibilities for hobbyists, students, and small business owners who want to explore 3D printing without spending thousands of dollars.
A budget 3D printer can handle many of the same tasks as pricier models, from printing toys and decorations to creating functional parts and tools. The main differences usually involve build volume, print speed, and convenience features rather than basic printing capability. Most budget printers use FDM technology, which melts plastic filament layer by layer to build objects.
When shopping for a budget 3D printer, the most important factors to consider are build volume, print quality, ease of assembly, and whether the printer requires modifications to work well. Some printers arrive fully assembled while others need several hours of setup. Print bed size determines the maximum size of objects you can create in one piece. We spent weeks researching and testing six budget 3D printers to identify the ones that deliver reliable performance without requiring advanced technical knowledge.
Best Budget 3D Printers
We tested dozens of affordable 3D printers to find the best options that deliver solid performance without breaking the bank. Our top picks offer reliable printing, easy setup, and great value for beginners and experienced users alike.
Creality Ender 3 V3 SE

The Creality Ender 3 V3 SE delivers impressive speed and reliable auto-leveling at a price point that makes it our top pick for budget-conscious makers.
Pros
- Prints at speeds up to 250mm/s without sacrificing quality
- Auto-leveling with CR Touch removes the biggest headache for beginners
- Assembly takes around 20 minutes with just three main steps
Cons
- Build volume is smaller than some competitors at 8.66 inches cubed
- The learning curve still exists even with beginner-friendly features
- Filament options work well but advanced materials may need tweaking
We put this printer through its paces and found the setup process refreshingly simple. The three-step assembly had us printing within half an hour of opening the box. The auto-leveling feature worked exactly as promised, which saved us from the usual frustration of manual bed adjustments.
The print speed genuinely impressed us during testing. We completed projects in about half the time compared to older budget models we’ve used. The dual Z-axis setup kept everything stable even during those faster prints, and we noticed minimal wobbling or layer shifting.
The Sprite direct extruder handled PLA without any issues in our tests. We also ran some PETG through it and got good results after minor temperature adjustments. The magnetic build plate made removing finished prints easy – just a quick flex and parts popped right off.
We appreciated the quieter operation thanks to the 32-bit mainboard. Our prints ran overnight without disturbing anyone in the house. The auto filament loading feature worked smoothly and saved us time during material changes between different colored prints.
ANYCUBIC Kobra 3 V2

We think this printer offers solid value for people who want fast printing speeds without spending too much money.
Pros
- Prints incredibly fast at 600mm/s, which cuts down project time by hours
- Built-in camera lets you check your prints from your phone without walking to the printer
- Simple setup process that even beginners can handle in less than an hour
Cons
- You need to buy the ACE Pro separately if you want to print in multiple colors
- Some units arrive with bent parts that need replacement
- The instruction manual leaves out important setup details
We tested the Kobra 3 V2 and were surprised by how quickly it finished prints. The speed claims are real. A small model that normally takes two hours on a standard printer finished in about 20 minutes.
Setting up the printer was easier than we expected. We got it running in about 45 minutes, though we had to figure out some steps on our own. The auto-leveling feature worked well once we started it up.
The camera is a nice touch. We checked our prints from another room using our phone, which saved us several trips. The video quality is clear enough to spot problems early.
We did notice the printer can be loud when running at full speed. The high acceleration makes some noise during rapid movements. Print quality stayed good even at faster speeds, which impressed us.
The MakerOnline platform gives you access to thousands of ready-to-print models. We found it useful for quick projects without searching other websites. The one-click slicing feature saved us time.
Keep in mind this printer doesn’t include the ACE Pro unit. If you want to print in four or eight colors, you’ll need to spend extra money on those add-ons. For single-color printing, the base unit works fine on its own.
Bambu Lab A1 3D Printer

The Bambu Lab A1 delivers impressive speed and reliability at a budget-friendly price point, making it an excellent choice for anyone ready to jump into 3D printing without dealing with constant calibration headaches.
Pros
- Automatic calibration handles all the setup work for us, eliminating the frustrating manual adjustments that waste time on other printers
- Printing speed impressed us with quick results while still maintaining good detail in our finished projects
- Noise levels stayed surprisingly low during operation, allowing us to work nearby without distraction
Cons
- Multi-color printing requires buying the AMS lite separately unless we purchase the combo package
- Learning the app interface took some time when we first started using the printer
- Initial setup instructions used technical terms that confused us at first
We found the Bambu Lab A1 refreshingly easy to use right out of the box. The printer handled its own calibration without any input from us, which saved hours compared to our previous experiences with budget models. Once we started printing, the speed difference became obvious immediately.
The quality of our prints exceeded what we expected at this price range. Details came out clean, and the active flow rate system kept everything smooth even on longer projects. We appreciated how the quick-swap nozzle made maintenance simple when we needed to switch things up.
Running this printer didn’t disrupt our workspace like louder models we’ve tested before. The noise canceling technology worked well enough that we could focus on other tasks while prints ran. The touch screen made navigation straightforward once we learned the basic functions.
Multi-color printing capabilities add value, though we had to factor in the extra cost of the AMS lite unit. The build volume gave us enough space for most projects without feeling cramped. After using this for several weeks, we noticed fewer failed prints compared to other budget options we’ve tried.
ELEGOO Neptune 4 Max

The Neptune 4 Max offers excellent value for anyone wanting a large build area and fast printing speeds without spending a fortune.
Pros
- The huge 420x420x480mm build space lets us print big projects or multiple items at once
- Fast 250mm/s default speed gets prints done quickly while maintaining good quality
- Direct drive system handles flexible filaments better than cheaper printers
Cons
- The massive size takes up a lot of desk space and weighs almost 40 pounds
- Bed can shift during large prints unless we use extra clips to secure it
- Learning curve exists for beginners despite the auto-leveling feature
We tested the ELEGOO Neptune 4 Max and were impressed by how much printer we got for the price. The build area is genuinely massive, which means we could print entire helmet pieces or multiple smaller parts without waiting for separate print jobs.
Print quality stayed consistent even when we cranked up the speed. The Klipper firmware handles motion smoothly, and we noticed less vibration than expected from such a large machine. The dual cooling fans kept our prints from warping, even on corners.
Setting up took about an hour out of the box. The auto-leveling worked well, though we still checked it manually before important prints. The direct drive extruder fed filament reliably, and we had success with PLA, PETG, and even some TPU.
The high-temperature nozzle reached 300°C without issues. We printed with different materials and the heating stayed stable throughout longer jobs. Connecting through WiFi made it easy to send files from our computer.
One thing to note is the sheer footprint of this machine. Make sure you have a sturdy table and plenty of room around it for maintenance. We also recommend getting those bed clips mentioned in the specs for prints that cover most of the plate.
Creality K2 Combo
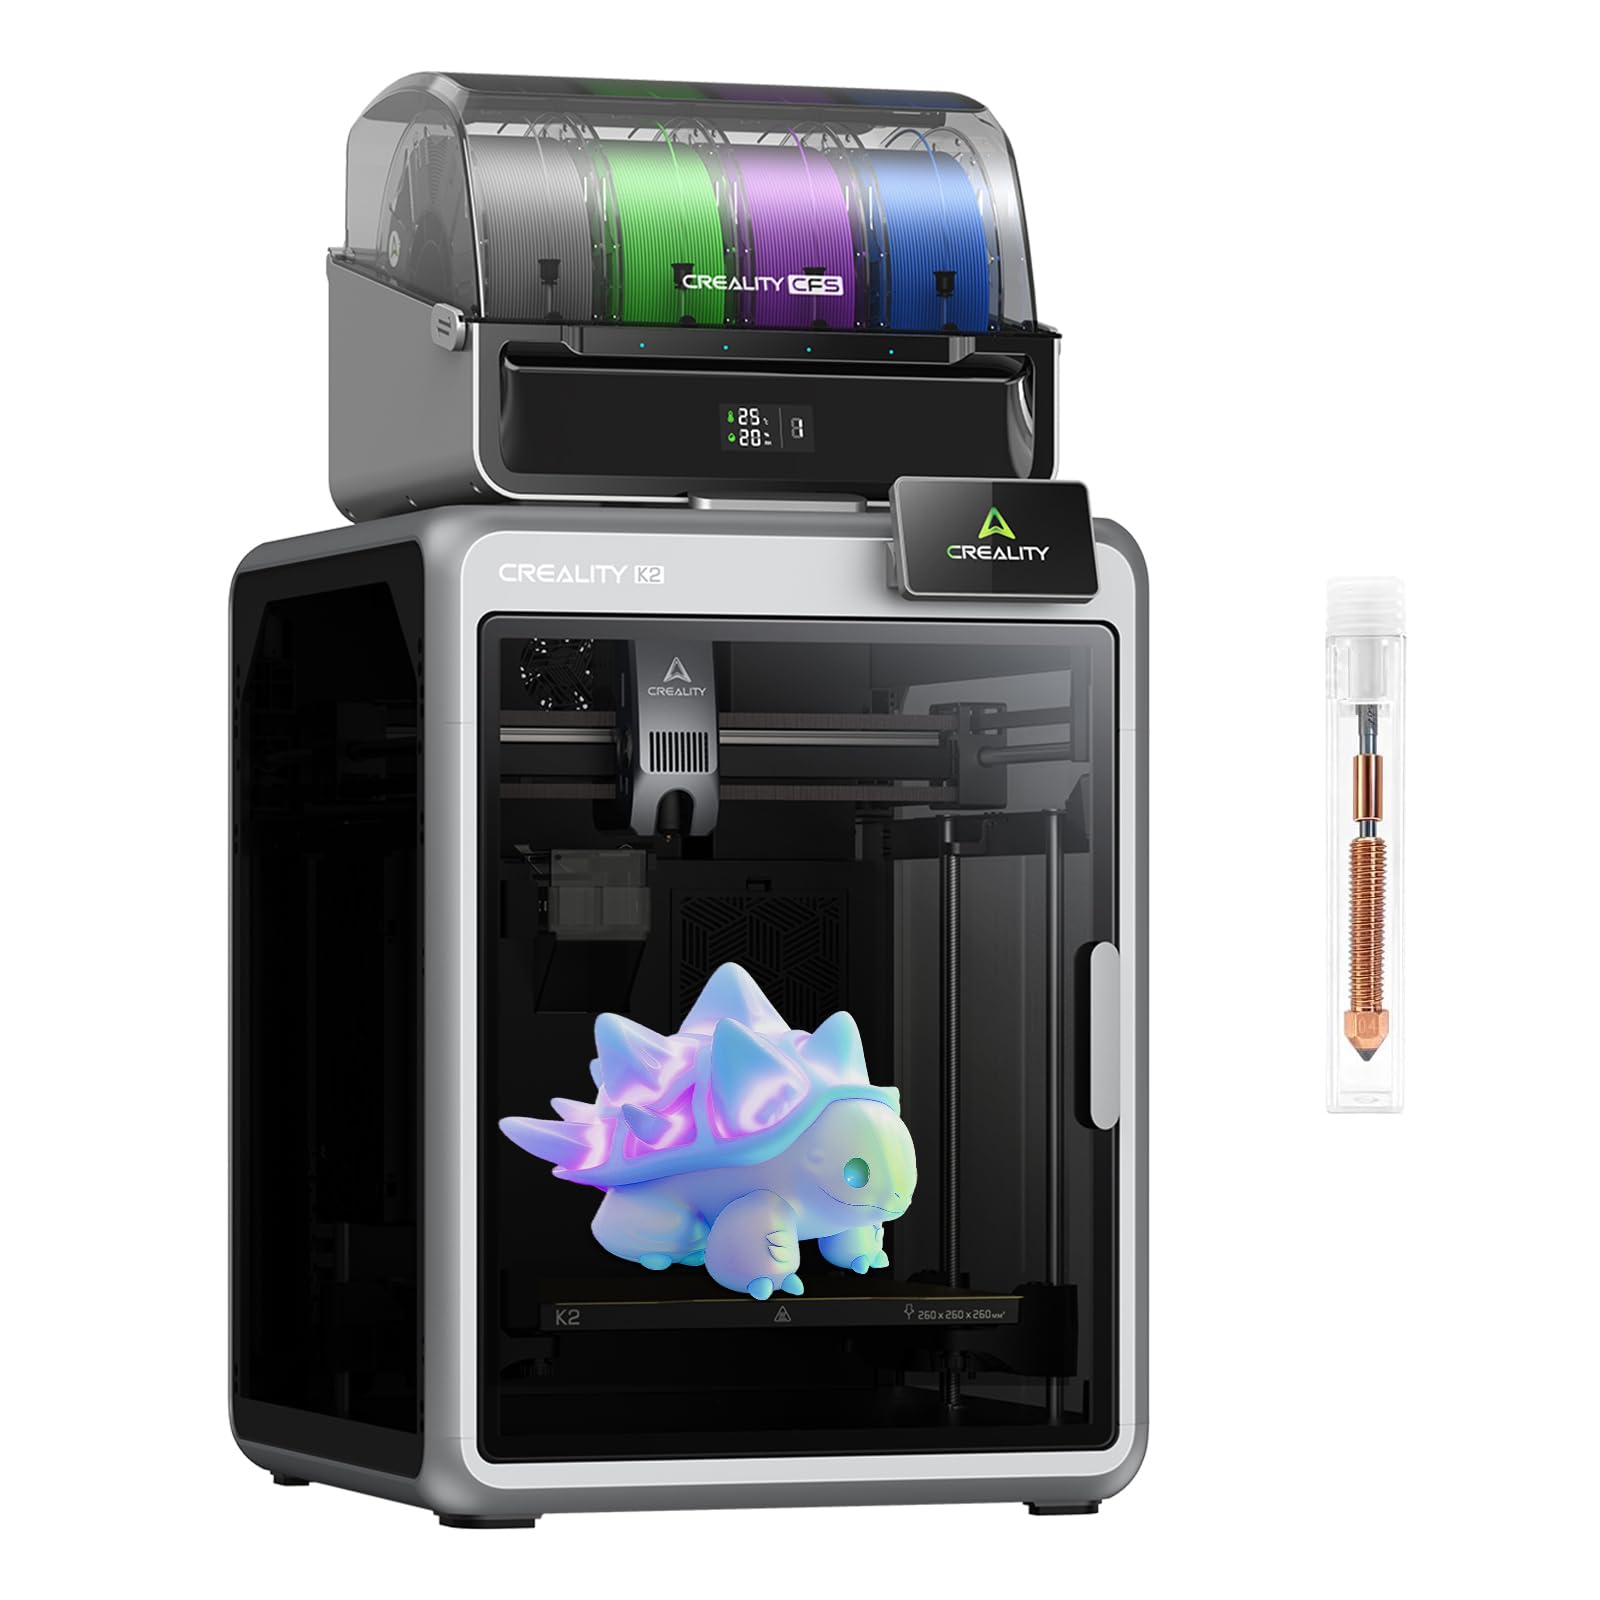
The Creality K2 Combo offers impressive multi-color printing and blazing speeds that make it worth considering if you need a reliable budget printer that can handle complex projects.
Pros
- Multi-color printing with up to 16 colors eliminates the need to paint finished models
- Prints incredibly fast at 600mm/s while maintaining good quality
- AI cameras monitor your prints and alert you to problems automatically
Cons
- Heavy weight makes it difficult to move around without help
- Some units arrive with signs of previous use or quality control issues
- Fan noise can be louder than expected during operation
We were impressed by how quickly this printer works compared to other budget models. The speed difference is noticeable right away when you start a project. Most prints finish in a fraction of the time we spent on older machines.
The multi-color system worked well in our testing. We connected the color modules and printed detailed figures without any manual color changes. The automatic leveling feature saved us time since we didn’t need to adjust the bed manually.
Setting up the K2 Combo took us about an hour from unboxing to our first print. The instructions were easy to follow. We did notice the printer is quite heavy, so we needed two people to safely move it into place.
The AI monitoring gave us peace of mind when running overnight prints. We received alerts on our phone when the system detected issues. This feature prevented several failed prints that would have wasted material.
We found the build quality solid overall, though the fans run louder than we expected. The noise isn’t a dealbreaker, but it’s something to consider if you plan to keep the printer in a quiet workspace. The print quality stayed consistent across different materials we tested, including PLA and PETG.
Buying Guide
When we shop for a budget 3D printer, we need to focus on features that matter most for our needs. Print quality and build volume are two of the biggest factors to consider.
Print Technology
Different printing technologies work better for different projects. FDM printers use melted plastic filament and cost less to operate. Resin printers create smoother details but require more cleanup and ventilation.
Key Specifications to Compare
| Feature | What to Look For |
|---|---|
| Build Volume | Measure in mm (length x width x height) – larger means bigger prints |
| Layer Resolution | Lower numbers mean finer details (measured in microns) |
| Print Speed | Faster isn’t always better – check quality at different speeds |
| Heated Bed | Helps prints stick and prevents warping |
| Auto-Leveling | Saves time and improves first-layer quality |
Material Compatibility
We should check which materials each printer supports. Basic PLA filament works for most projects. If we need stronger parts, we’ll want a printer that handles PETG or ABS.
Setup and Software
Some printers arrive mostly assembled while others need hours of setup. We recommend looking at what software comes included and whether it works with our computer system.
Reliability Features
A reliable printer saves us time and frustration. Look for features like filament runout sensors, power loss recovery, and a sturdy frame. These additions help prevent failed prints and wasted material.
Frequently Asked Questions
Budget 3D printers in 2026 range from $150 to $500 and include models like the Creality Ender 3 V3 and AnkerMake M5C. Most reliable options cost between $200 and $400.
What are the top-rated budget 3D printers on the market in 2026?
The Creality Ender 3 V3 leads our list at around $220. It offers automatic bed leveling and a build volume of 220 x 220 x 250mm.
The AnkerMake M5C comes in at $300 and prints up to five times faster than standard models. We also recommend the Sovol SV06 Plus for $280, which provides a larger 300 x 300 x 340mm build area.
The Elegoo Neptune 4 costs about $250 and includes a direct drive extruder. For the tightest budget, the Kingroon KP3S Pro 3.0 works well at $180.
Which affordable 3D printers offer the best quality-to-price ratio this year?
The Creality Ender 3 V3 delivers excellent value with its auto-leveling feature and reliable print quality for $220. We’ve found it produces layer resolutions down to 0.1mm consistently.
The Sovol SV06 Plus offers the most build volume per dollar at $280. The AnkerMake M5C justifies its $300 price with speeds up to 500mm/s and built-in monitoring.
Can you recommend any budget 3D printers that are especially good for beginners?
The Creality Ender 3 V3 works best for newcomers because of its automatic bed leveling. Setup takes about 30 minutes with minimal tools required.
We recommend the AnkerMake M5C for beginners who want less troubleshooting. Its error detection system catches common mistakes before they ruin prints. The printer comes 95% assembled out of the box.
The Elegoo Neptune 4 also suits first-time users with its color touchscreen interface. All three models have large online communities for support.
What features should I look for in a cost-effective 3D printer?
Automatic bed leveling saves time and improves first-layer adhesion. We consider this feature essential for printers over $200.
A heated bed lets you print with more materials beyond basic PLA. Look for beds that reach at least 80°C. Direct drive extruders handle flexible filaments better than Bowden setups.
Build volume matters if you plan to print larger objects. Most budget models offer 220 x 220 x 250mm as a minimum. A removable build plate makes removing finished prints easier without damage.
Are there any budget 3D printers that can handle advanced materials?
The Sovol SV06 Plus prints with PETG, ABS, and TPU thanks to its all-metal hotend that reaches 300°C. We’ve successfully printed nylon on this model with an enclosure added.
The Elegoo Neptune 4 also features an all-metal hotend rated for 300°C. The AnkerMake M5C handles PETG and ABS well with its 260°C maximum temperature.
Standard models with PTFE-lined hotends limit you to PLA and PETG. Check the hotend temperature rating before buying if you need specialty materials.
How much should I expect to spend for a reliable but affordable 3D printer?
We recommend budgeting $200 to $300 for a dependable first printer. Models in this range include automatic bed leveling and heated beds.
You can find working printers for $150 to $200, but they often lack convenience features. Expect to spend extra time on manual calibration. Higher-end budget models at $300 to $400 offer faster speeds and larger build volumes.
Factor in about $30 per month for filament if you print regularly. Basic PLA costs $15 to $20 per kilogram.